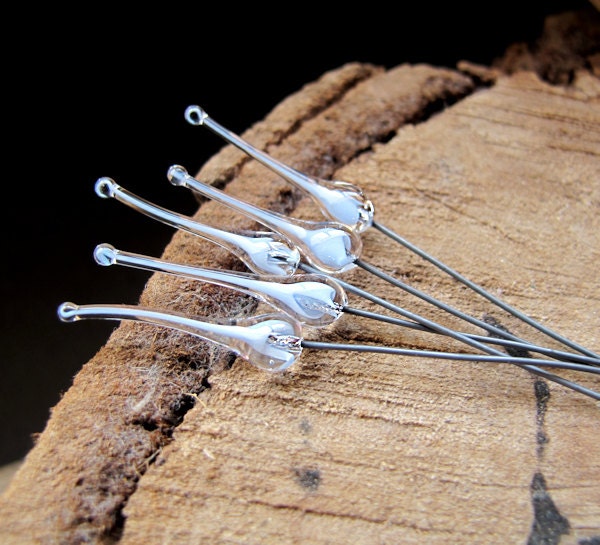
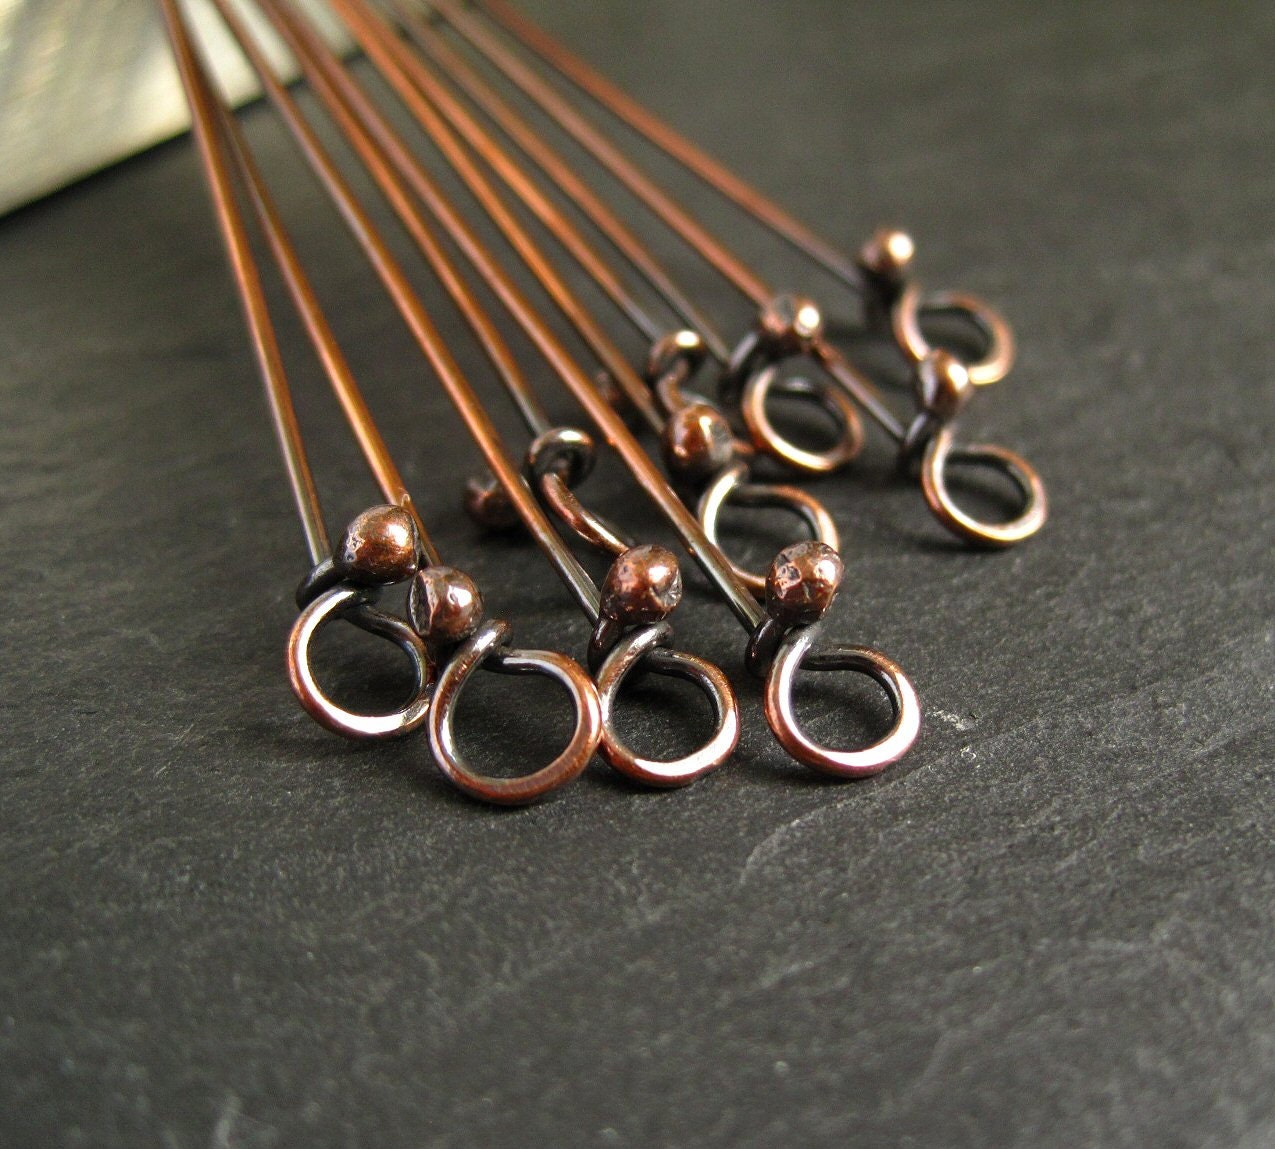
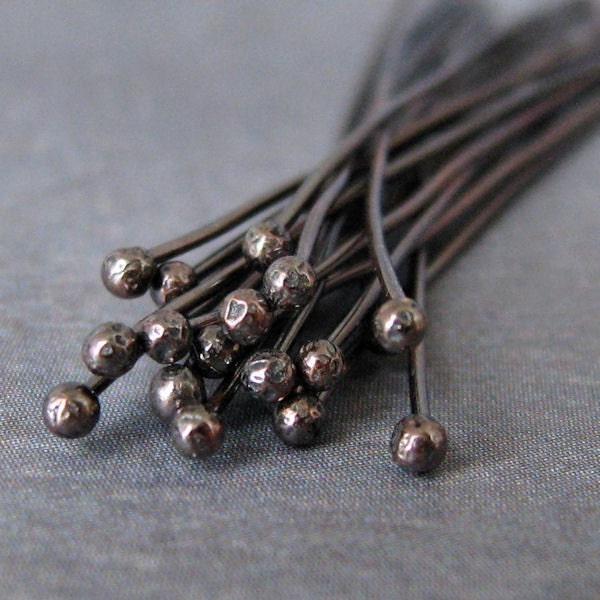
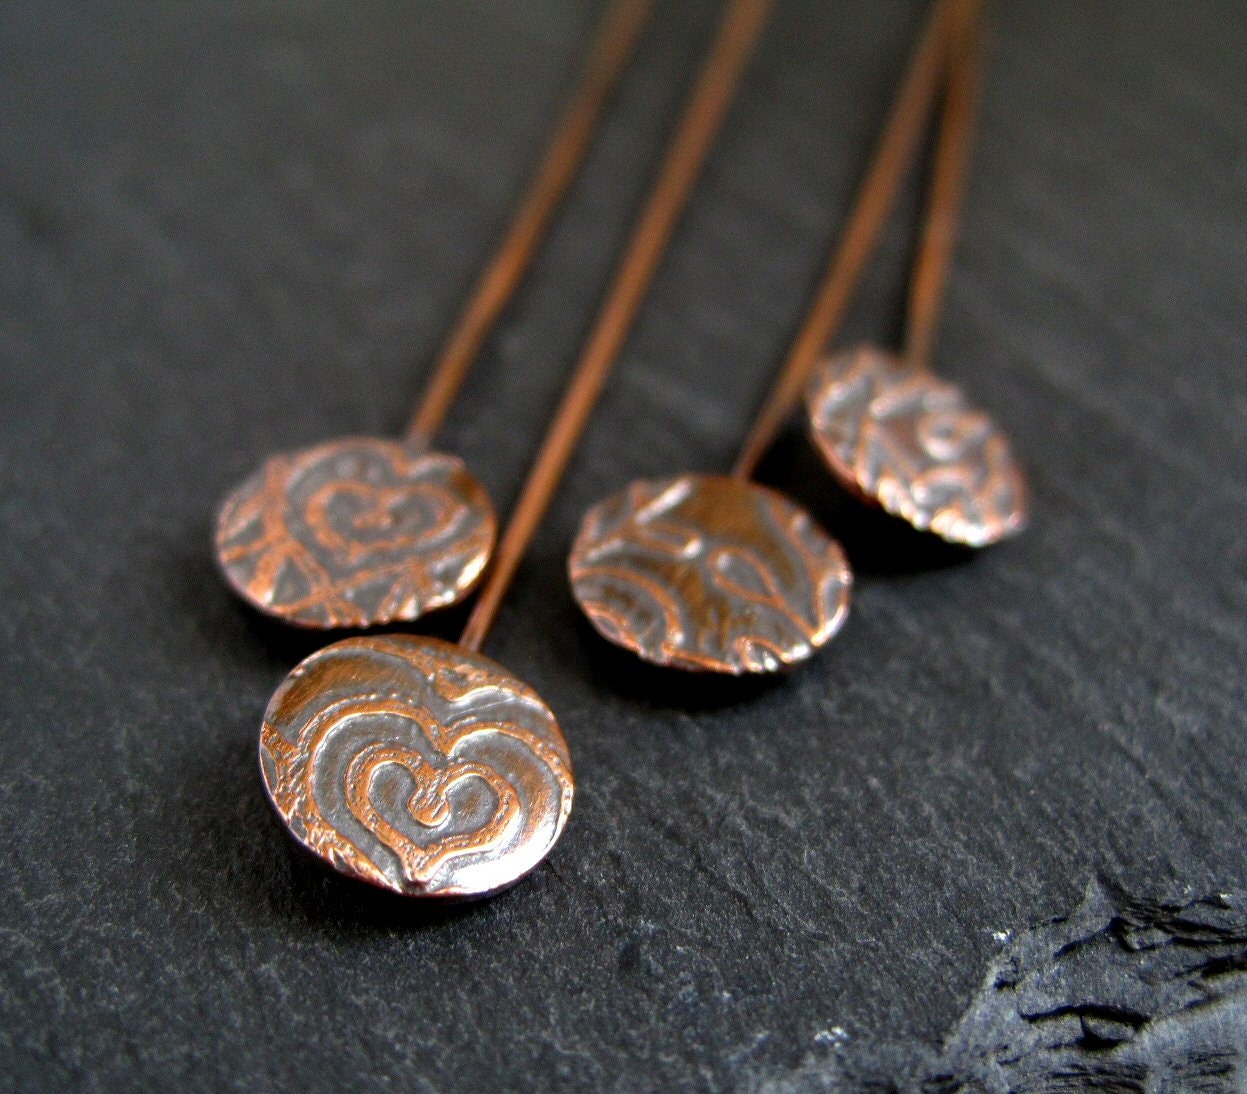
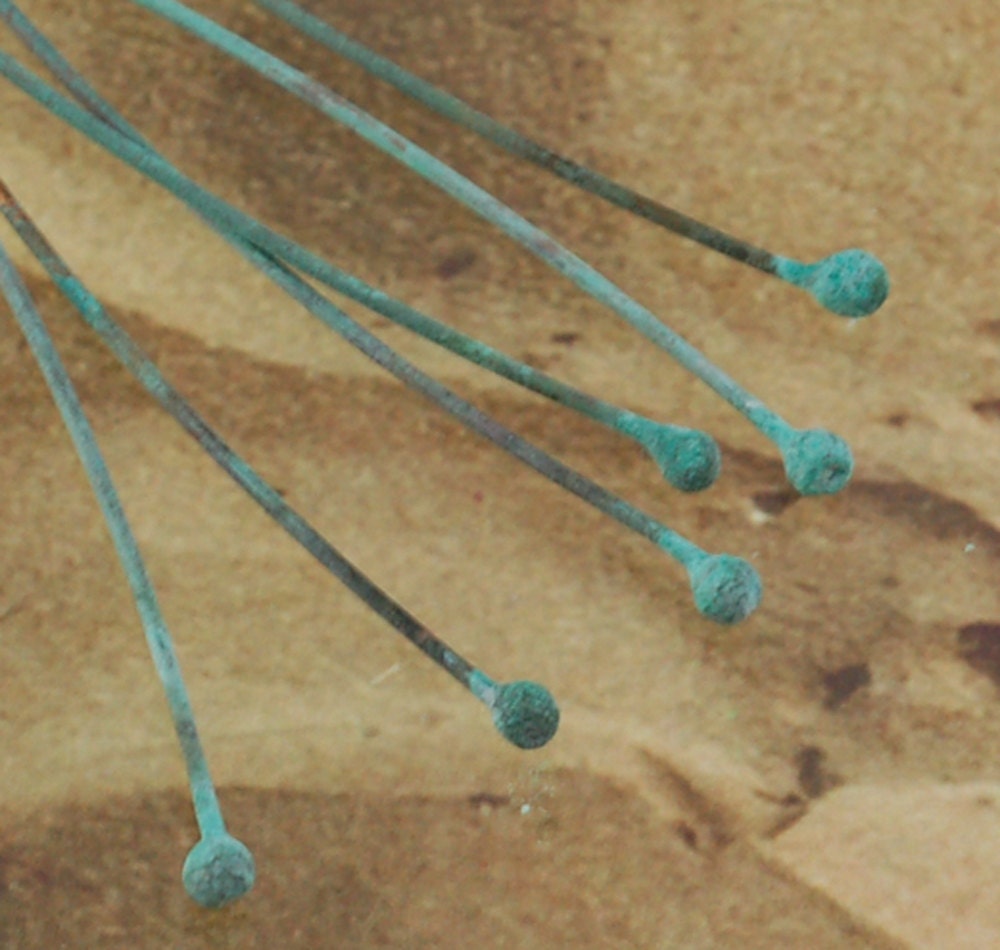
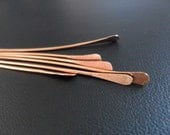
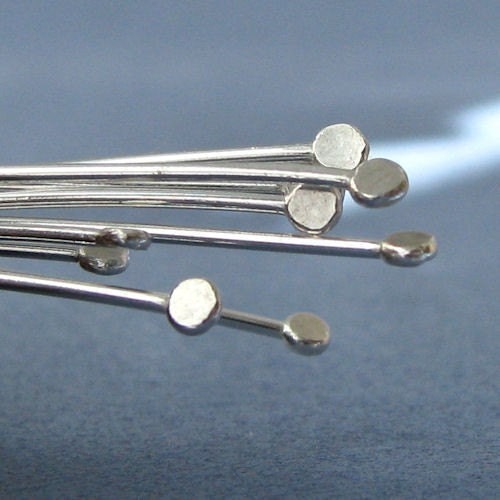
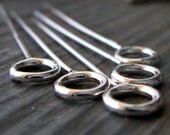
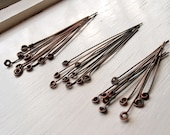
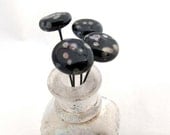
At the moment I am in love with headpins. Since the Love My Art Jewelry Boot Camp on headpins, I can't get enough of them. Here are a few that I have made....
For ages I have wanted to write a tutorial on my blog so I though headpins would be a good place to start, I hope this is clear enough and makes sense....
To make these you will need
- Copper wire
- wire cutters
- round nose pliers
- bail making pliers
- two flat nose pliers
- oxidising solution
- Polishing papers/pads
- First take your wire, I used 0.8 copper wire (I think that is 20 gauge). I like to anneal it (heat to glowing red) before I use it to make it softer, but you dont have to.
2. Then cut the wire to 3.5 inch lengths
3. Use the very tip of your round nose pliers to make a tiny loop in the wire just over an inch from the end
4. Next using your flat pliers bend the long end up (I think this is called breaking the neck?)
5. The easiest way to do the next part I think is to place the tiny loop on the end of some medium sized bail making pliers then bend the short wire around
So you end up with this....
6. File the short end so you get a nice finnish (a nice finnish is all to do with attention to detail).
Flatten the end circles down by holding them in your flat nose pliers while using the other pair to wrap the wire around the long end.
A quick dip in some oxidising solution, rinse and buff with a polishing pad (I use 3m polishing papers).
I hope someone will find this useful
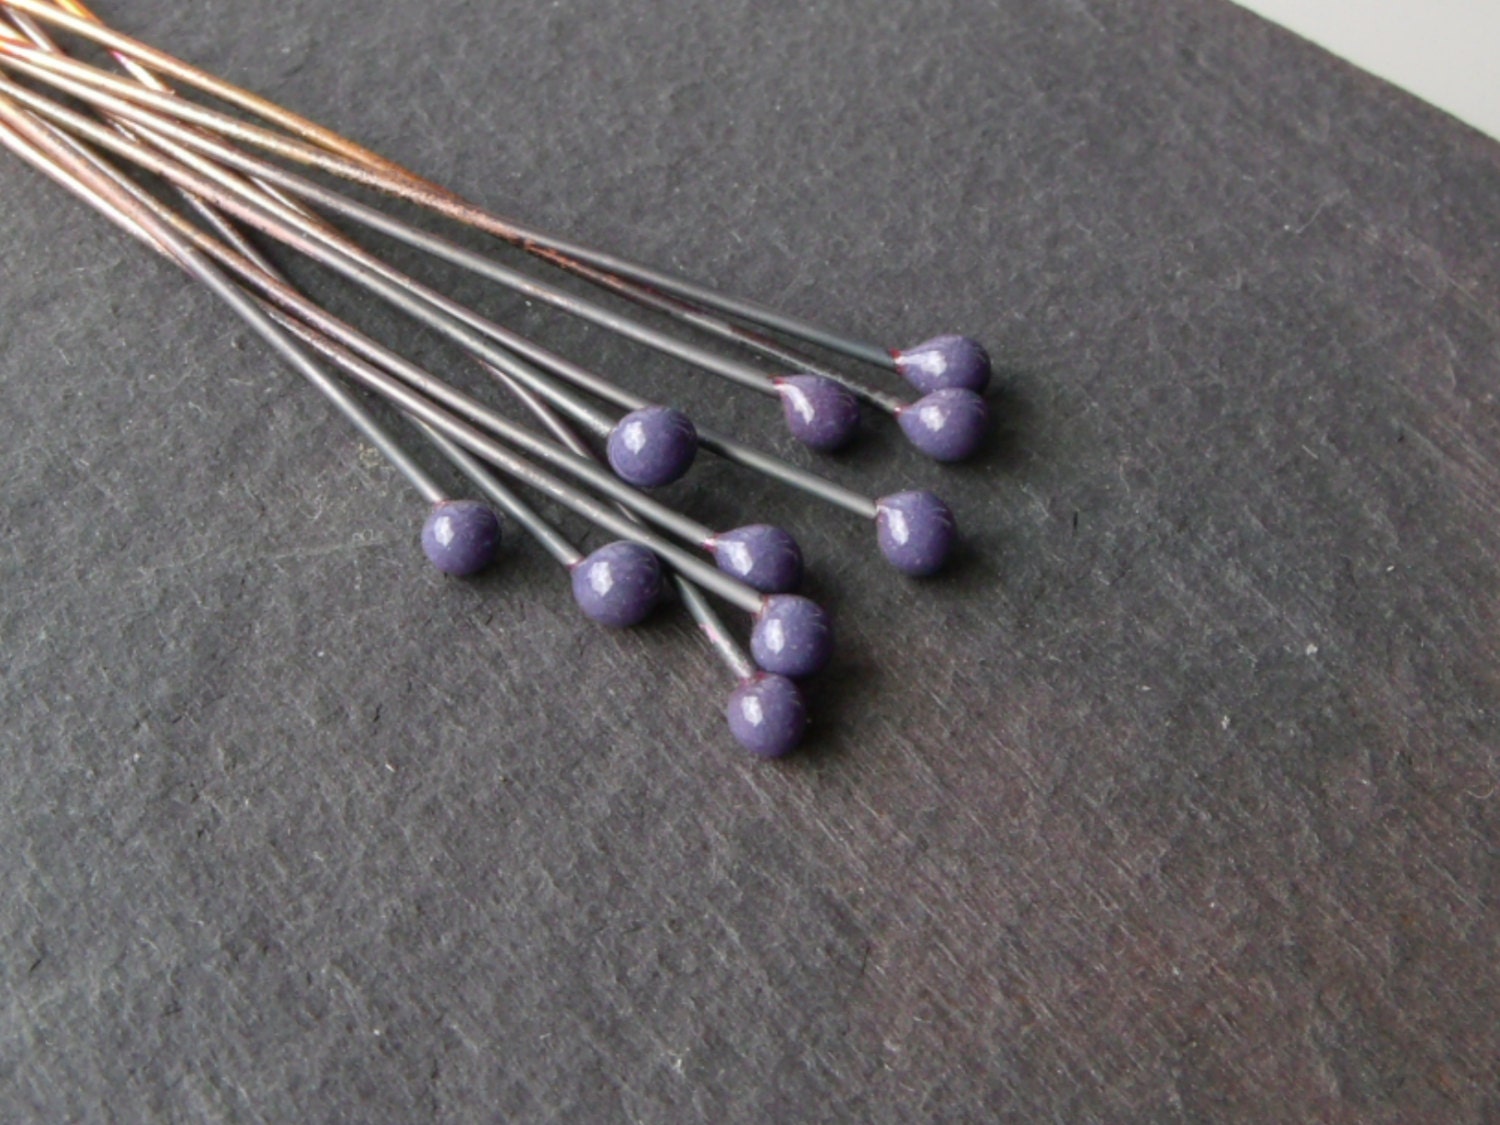
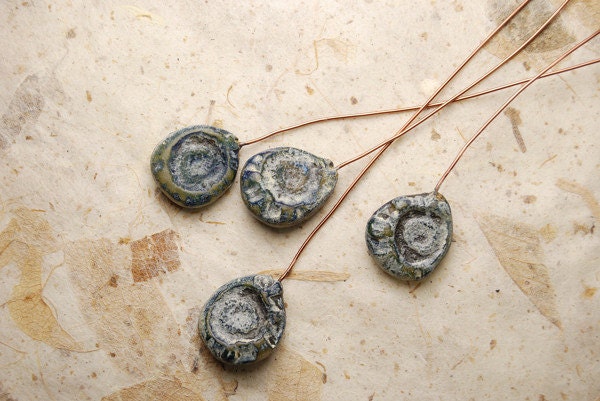
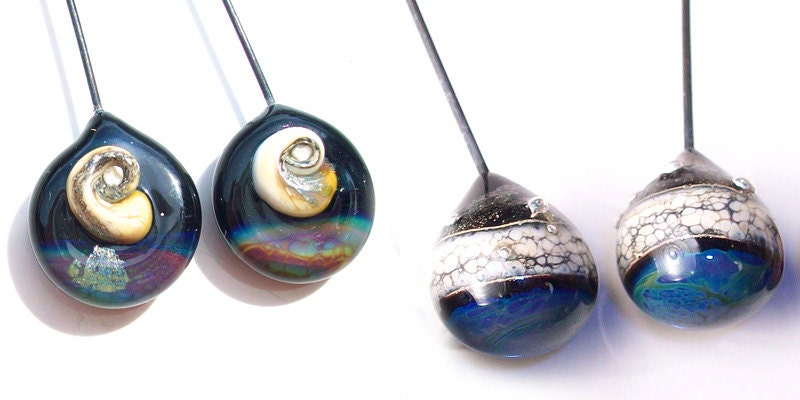
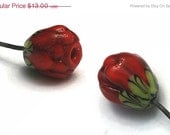
If you really don't fancy making your own or just look at these beauties....
'Headpins' by silverniknats
little works of art
Have a great day x






What a fun idea. I'm not that creative when it comes to making stuff like this. I usually stick to writing. I wish I could be more crafty though.
ReplyDeleteWhat a great tutorial, I am going to have to try to make a few of these headpins!
ReplyDeleteGreat ideas! I might have to try some of these, I've never made my own headpins before.
ReplyDeleteشركة تسليك مجاري بالهفوف slyTIJr35P
ReplyDelete